
The joomla we use here is new joomla stable version, version 1.5.x. The litle x mean the minor release of current joomla. Today, when I write this tutorial, the minor release is Joomla 1.5.2.
What is Joomla?
As far as I know:
Joomla! is a free open source framework and content publishing system designed for quickly creating highly interactive multi-language Web sites, online communities, media portals, blogs and eCommerce applications.So, joomla is smart cms we use for everything, its up to you what you use joomla for.Although joomla is multi-purpose content publishing system for websites, joomla is not suitable enough to be comfortable blog engine. In this case, I prefer wordpress than joomla.
Joomla! provides an easy-to-use graphical user interface that simplifies the management and publishing of large volumes of content including HTML, documents, and rich media. Joomla! is used by organisations of all sizes for Public Web sites, Intranets, and Extranets and is supported by a community of thousands of users.
Joomla Pre-Installation
Before we use joomla, we need to install it first. Before installation we will need:
- Apache Web Server. Better if we have rewrite module for SEO, and others to improve joomla power.
- MySQL Database. MySQL is optimized database for joomla. You can use another databases, but we need extra work and setup for it. MySQl is the best.
- A copy of Joomla installer. Go get it here, if you dont ready have one.
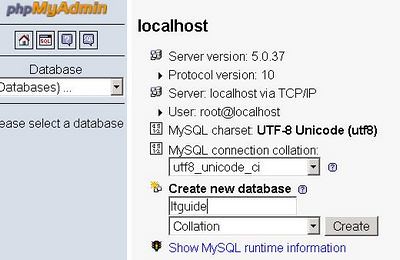
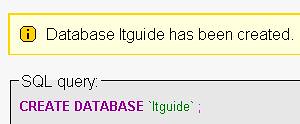
The next, open your browser, my favorite is Firefox. Open your phpmyadmin page. if you use LAMPP like me, open it here: http://localhost/phpmyadmin/.Crete a new database by type it new name. For example, I use ltguide as new database name.
Installing Joomla
I have installing joomla in my local webserver. I extract the joomla installer in usermode.web.id directory. After extracting, please open your browser and go to http://localhost/usermode.web.id or wherever you extracting joomla before.

The first step is to choose installation language to use. Please choose the suit language from the list.

Second step is to check your web server requirements that meet joomla. If you see the green color words written, that mean you pass for the requirements. Otherwise, red color mean the requirements must be corrected before we go to next step. For example, if your register globals on your php requirement is red (on), open your php.ini configuration file and toggle it to off.
Third step is to accept the joomla aggrement and license. If you dont agree, please close your browser and dont install joomla.
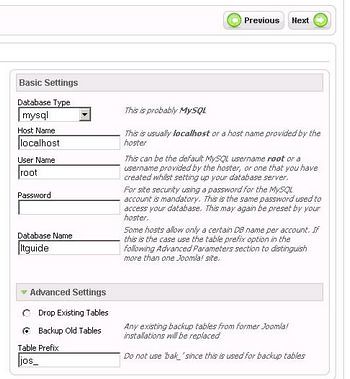
Fourth step is configure the database. Joomla will ask for database server address, username and password to use. In local webserver, I think its not difficult. The problems will appear if you enter unassigned or different username for database. So, make sure the database and the username, also password is match and assigned.
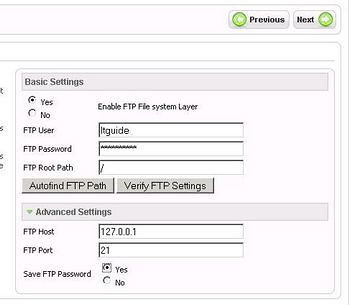
Fifth step is configure ftp layer. This joomla feature important for maintain file and folder. You need it to let joomla configure the right permission for better security issues. If you want to do it manually, dont enable it and let it empty. Before go to next step, may you want to test the FTP connection setting, push the “Verify FTP Settings” button.

Sixth step is configuring you website. Enter your website name, password and email addres to use and then if you are new to joomla, may you need to installing the sample data. The default sample data contain some informations and mini howto from joomla developer.

Finish!, congratulation! Now you have a fresh joomla powered website.
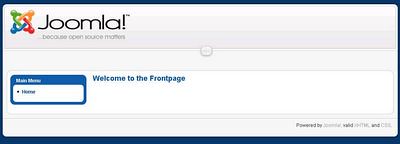
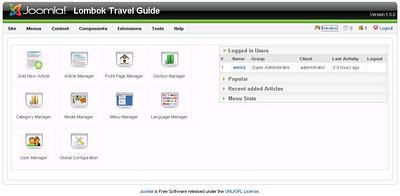
If you want to access your administration panel, you can acces it on http://localhost/instalasi_joomla/administrator.
After installation, is a good practice to change the configuration.php file permission in your root directory and to delete the installation folder.


No comments:
Post a Comment